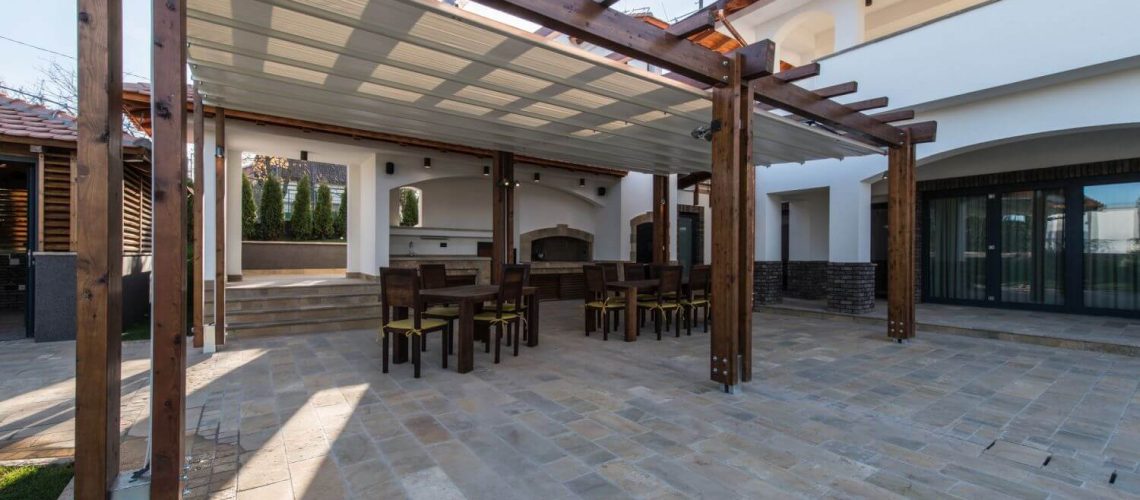
A pergola is a beautiful addition to any garden or outdoor space. The semi-shaded design of a pergola means that you can enjoy the sun without being fully exposed to harmful UV radiation. A properly fitted pergola will last forever but it will need to be placed and installed properly.
Different ground types such as concrete, soil, or a paver patio require different techniques but for this how-to, we will focus on paving stones:
- Marking
- Posting and anchoring
- Erecting the structure
A fully erected pergola can add a touch of elegance to every garden or relaxation area. Covers can also be placed over a pergola should you require a fully shaded area or protection from the rain. A lot of people also choose to add a fire pit under their pergola for an even more enjoyable experience.
Careful Planning is Vital for Building
As with any DIY project, planning is key to successful completion. By carefully measuring and marking out where your pergola’s concrete footings and mounting posts need to go, you will ensure that everything fits into the right place.
Measure where your pergola footing needs to be before attempting anything else. You can do this by placing the pergola legs at their required distance and then marking around them. This is the most crucial step in the whole process because if this isn’t done properly then it will be nearly impossible to erect your pergola correctly and you will have to start all over again.
After marking the size and shape of the legs, you can then install concrete footing on your paving stone areas. Alternatively, pergola footings can be marked and placed before work begins on the patio itself.
Keep Your Footing
Once you have marked where each leg needs to be, remove paving stones at the marked areas on your paved area and then drill holes for the concrete footing. Once the correct shape and size have been created, place concrete footing holes inside the drilled holes.
The footing holes themselves might also need to be secured and this can be done with anchors and bolts that can be driven into the concrete surface underneath the paved area. Once the footing has been correctly placed you can then either replace the paving that you previously removed or pour concrete around the footing and smooth it out.
Note that mounting brackets could also be used but the drilling required to secure these could crack or damage your paving stones as well as being insecure so this method is therefore not recommended.
Build Your Outdoor Pergola
Depending on your pergola type it might be built a little differently. Some pergola legs are hollow and need to be placed over mounting posts while some are solid wood and need to be placed directly into the footing holes. With the correct footing in place, insert any wooden mounting posts for the pergola. If you are using solid wood then place your pergola legs into the footing holes.
Any bolts or fasteners for the wooden mounting posts or legs should also be secured at this step.
With support posts or legs in place, your pergola is ready to be built. Continue to build your pergola as instructed by the manufacturer and then take care to secure the fitting.
If at this point you realize you should probably hire a hardscaping company to help with installing a pergola over patio pavers please give us a call.
At Sequoia Stonescape, we’re passionate about hardscaping. With over 10 years of experience, our family-owned company would love to help. Get in touch with us at (503)-932-7605. We’ve got an eye for practical solutions and can help you create beautiful outdoor esthetics for your backyard.

